Workshop Journal: Billy’s E46 M3 Fuel System Install
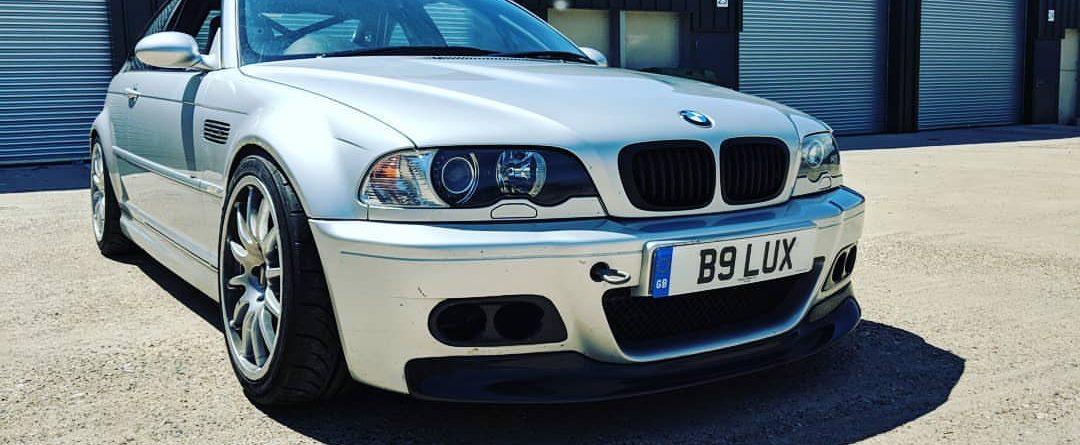
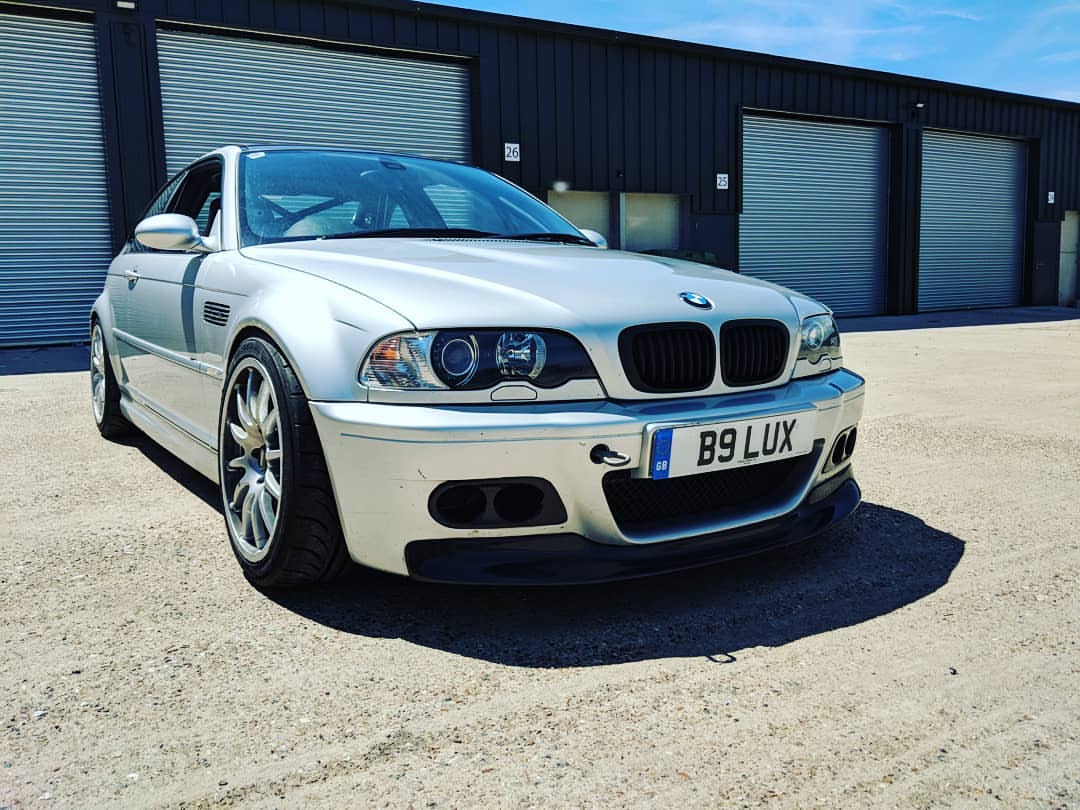
E46 M3 track cars are the bread and butter of what we do here at Hack Engineering, and so when Billy mentioned bringing his infamously quick M3 to us to cure his fuel starvation issues, we were delighted to be able to help.
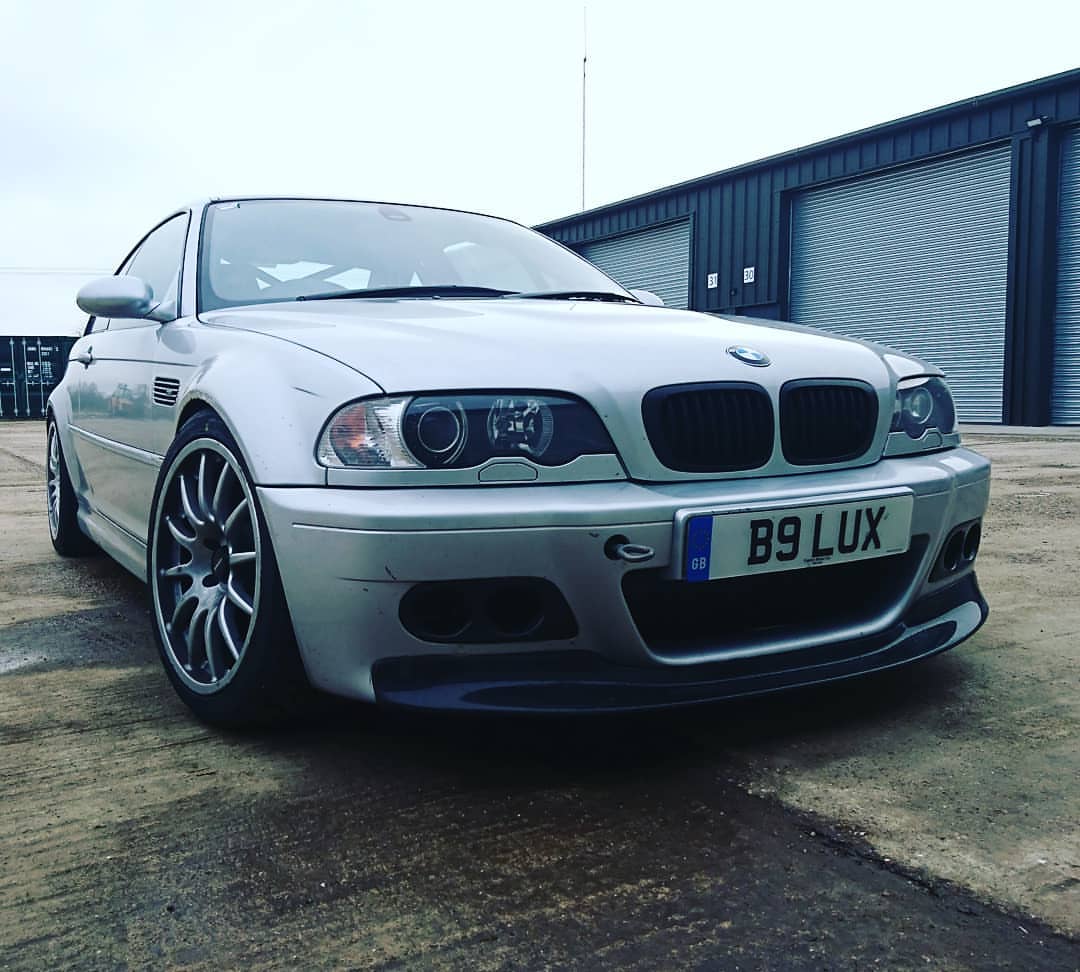
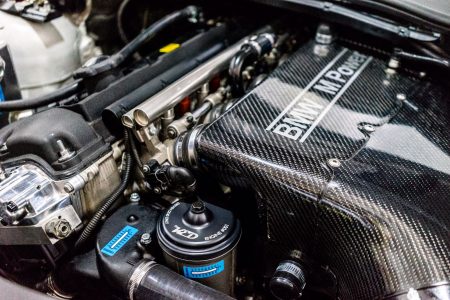
A quick introduction to Billy’s car should give you the idea of what this machine is all about. Having previously owned an M3 CSL, he decided that he wanted something more purposeful and so built his own variation on the theme, using a plain jane M3 as the base. These days it’s anything but plain, with a heavily reworked chassis, Intrax coilovers, Safety Devices 6-point cage, Recaro seats, heated screen (no heater), Karbonius roof, Geoff Steel carbon airbox, Supersprint exhaust, AP Racing brakes all round and so much more.
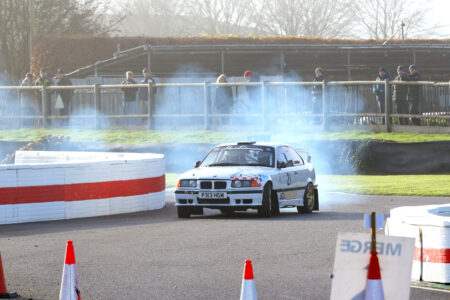
Weighing 1405kg when fuelled up, and often running slicks on track, Billy car is capable of pulling some extreme G’s, and that meant that the E46 M3’s fuel starvation issues were multiplied and often held him back from achieving the laptimes he wanted – and that’s before taking into consideration the potential damage the 302whp S54 could be suffering.
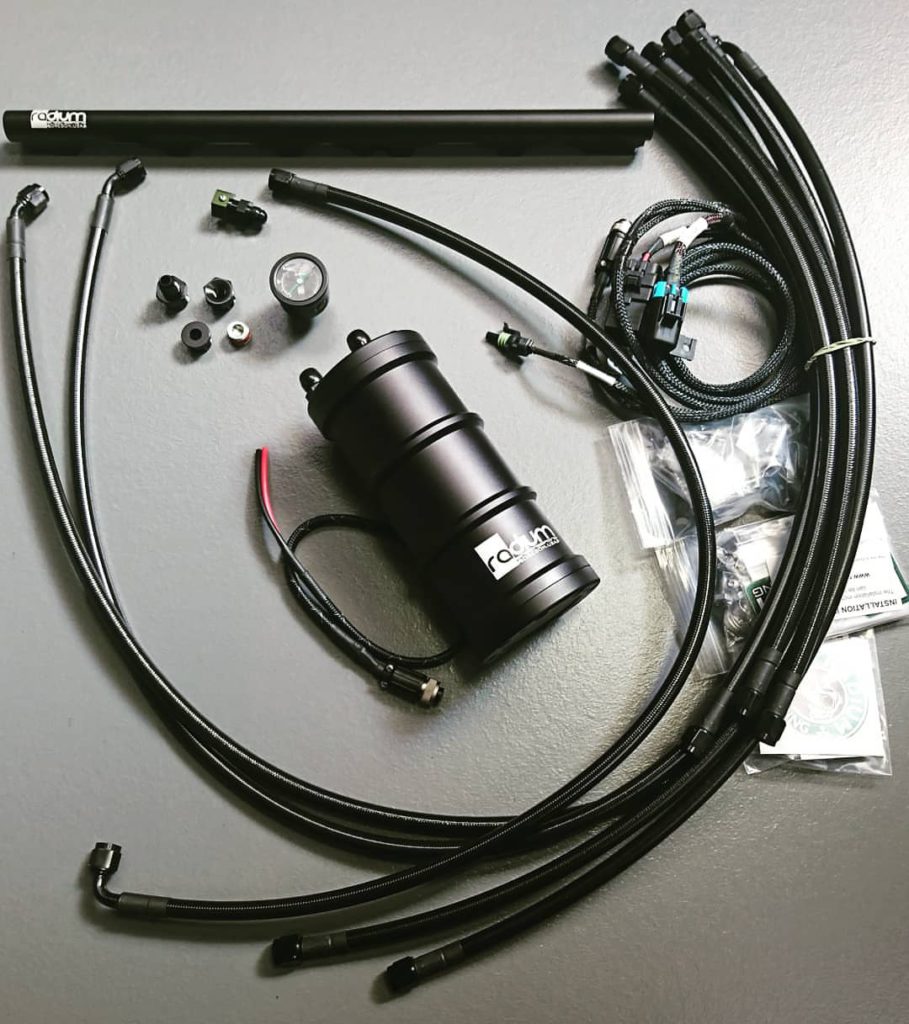
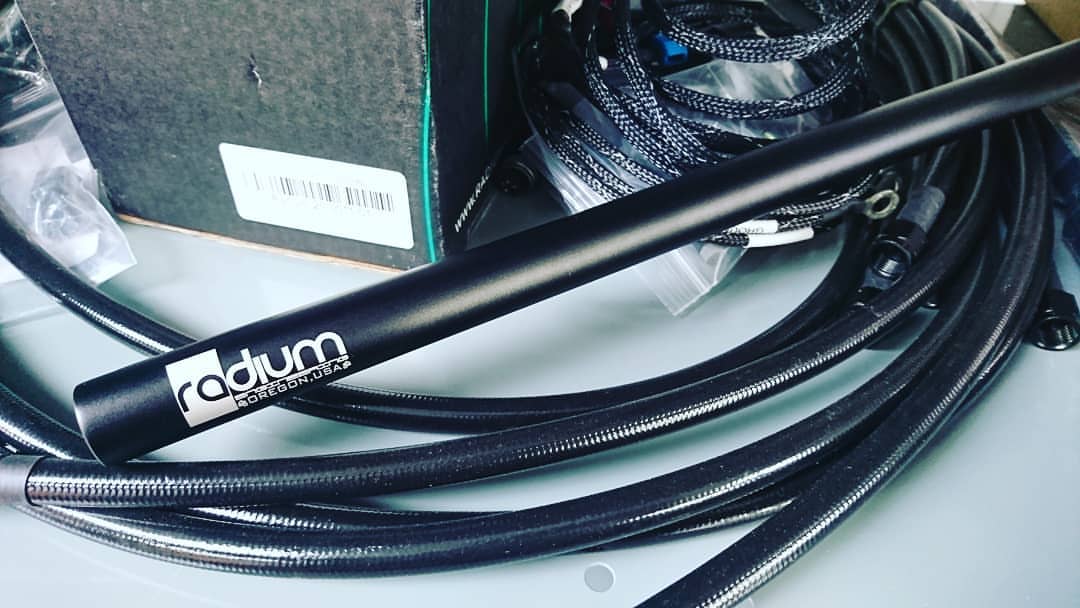
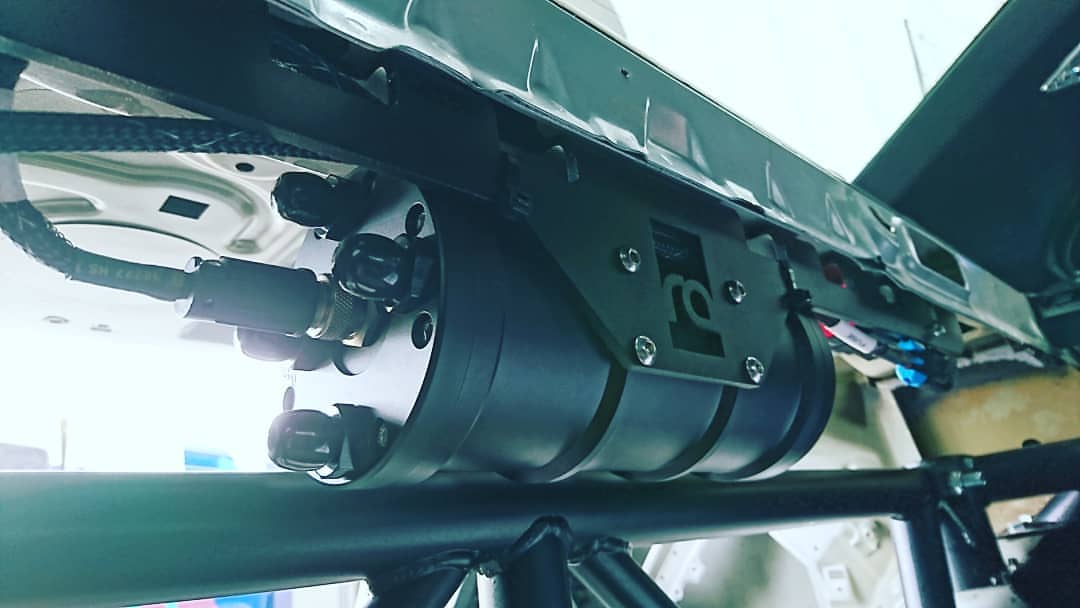
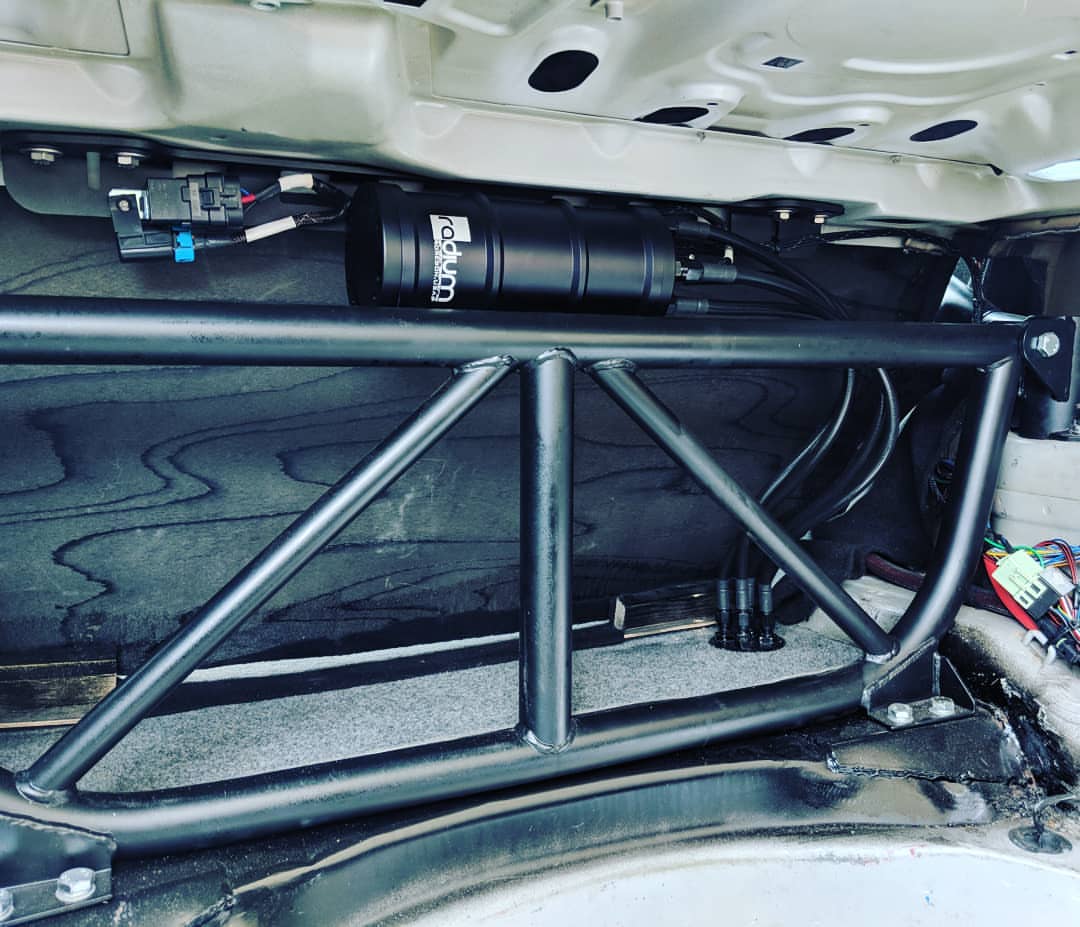
Not one for doing things by half measures, Billy decided to upgrade the fuel system with a Radium Engineering Fuel Surge Tank setup and Fuel Rail. The FST is essentially a new breed of swirlpot design that integrates a pump, so is far neater and arguably more effective. Radium’s FST is fully CNC machined from extruded aluminium, with a 1.5-litre capacity and in Billy’s specification, a built-in Walbro 255lph fuel pump feeding -6 fittings. Radium also offer a direct fit kit for the M3, meaning that the FST can neatly be fitted below the parcel shelf area discreetly, and plumbed directly to the fuel tank fittings. More on this later.
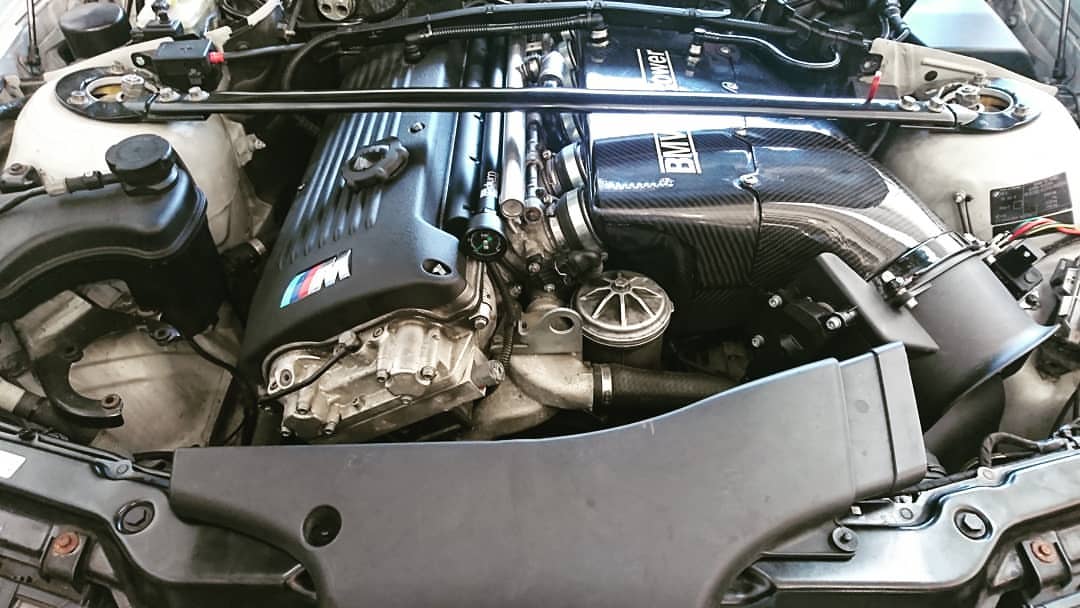
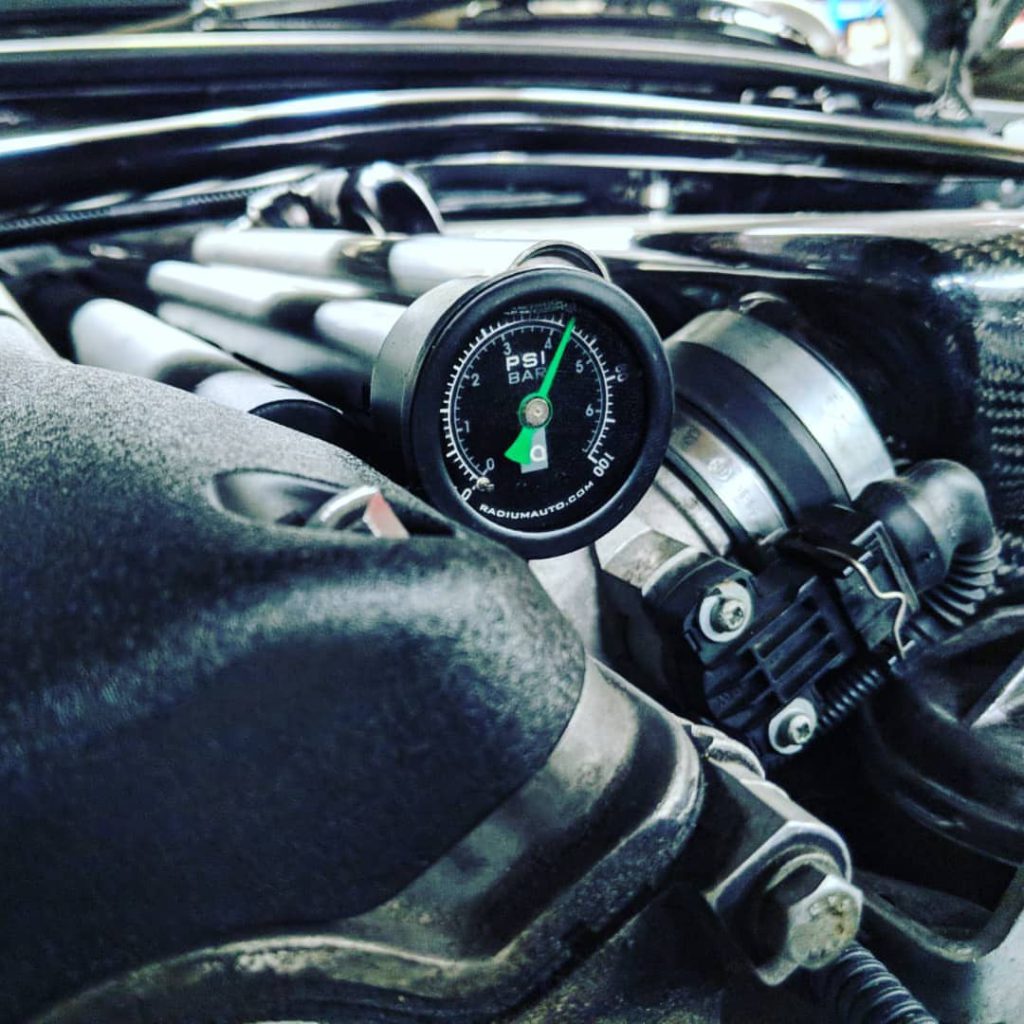
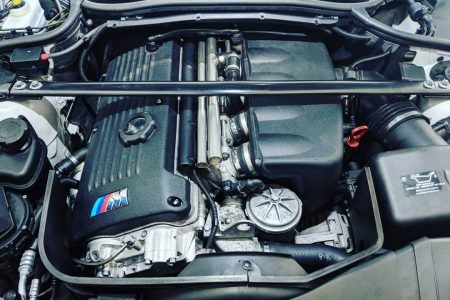
The Radium fuel rail is another billet aluminium piece which allows for the engine-side of the fuel system to be converted to AN fittings – in this case -6 using Radium’s ‘OEM fitment’ kit which attaches straight to the original fuel pressure regulator under the car and uses a braided and swaged line up to the rail. Billy also added a Radium fuel pressure gauge to the recipe.
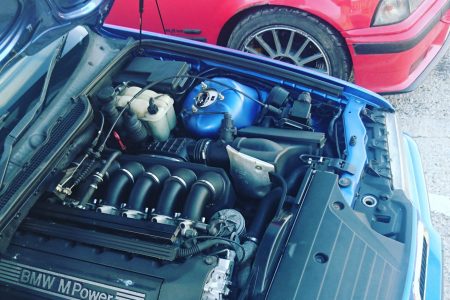
Installation is relatively straightforward, requiring removal of the airbox and some careful routing of the new fuel line. Once complete, it’s a very nice addition to the engine bay.
Next up was the FST install – Radium’s E46 M3-specific kit includes a bracket that allows for a simple bolt-on fitment of the FST beneath the parcel shelf panel. It locates to the seat mounting locations – with this absent in Billy’s car we added some locking flanged nuts to the equation for a perfect install, with the wiring also run down from the FST to the battery terminals and wired up for the relay trigger.
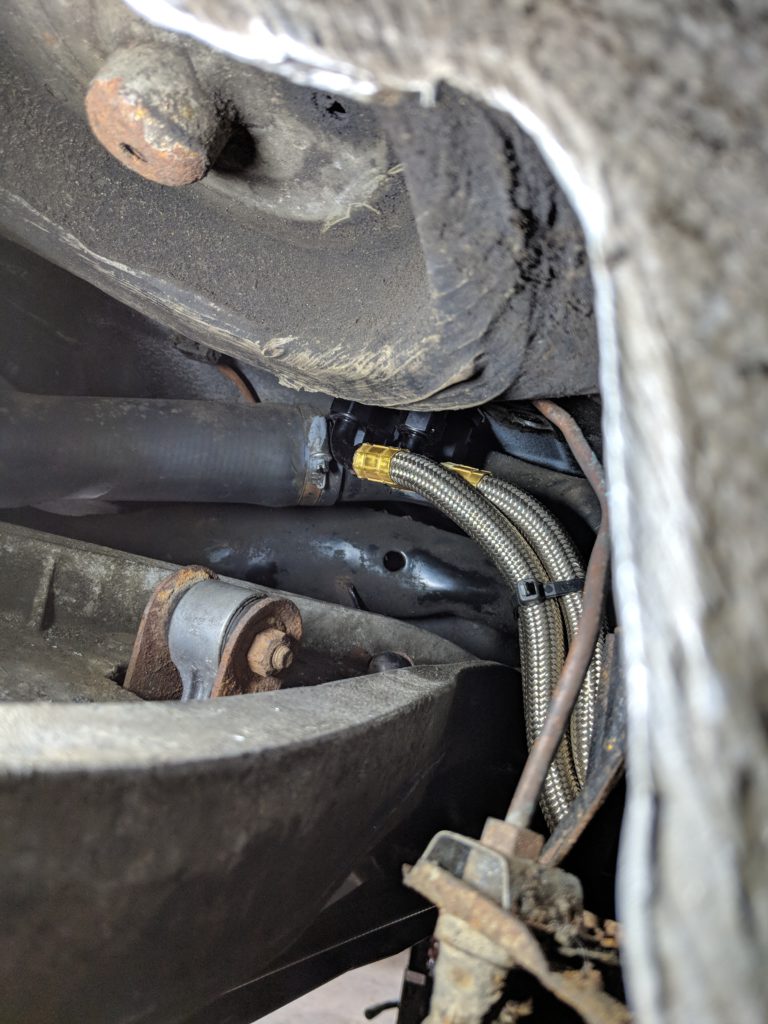
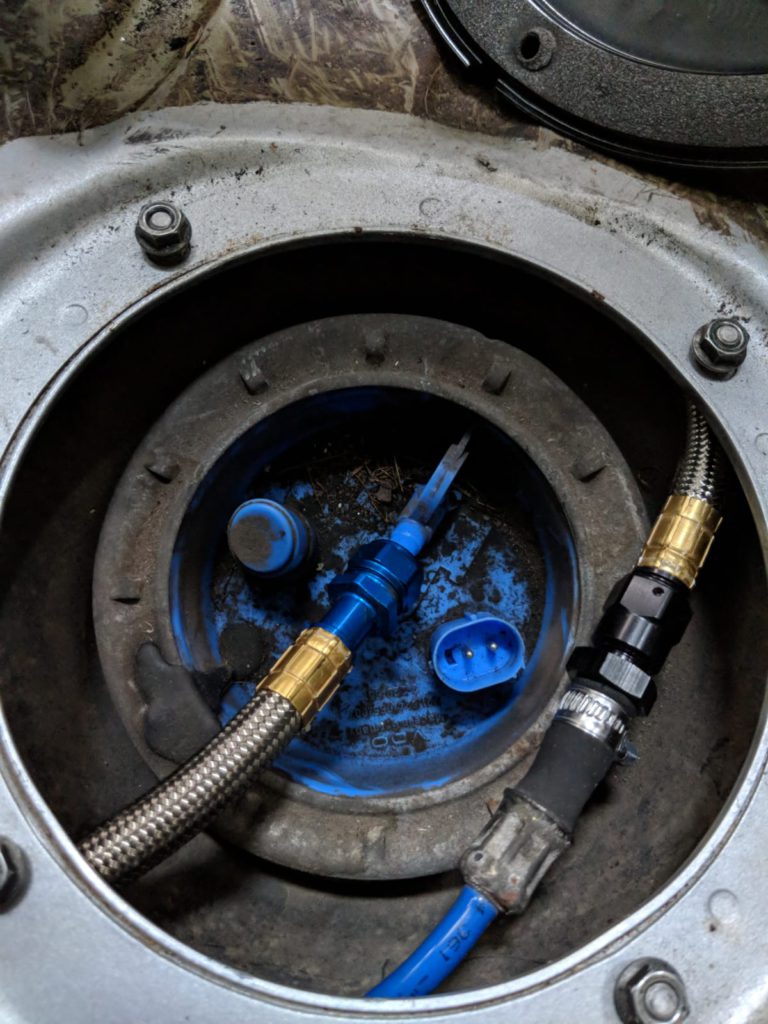
Next up, plumbing. The design of the Radium kit routes the lines from the FST, down through the floor, and then under the rear seat area, between the car itself and the fuel tank. This means that it can be fitted even with a full interior. However underneath the car we didn’t feel clearance around the upper control arm was adequate, and also didn’t feel comfortable with using a braided hose as a push-fit on the return side.
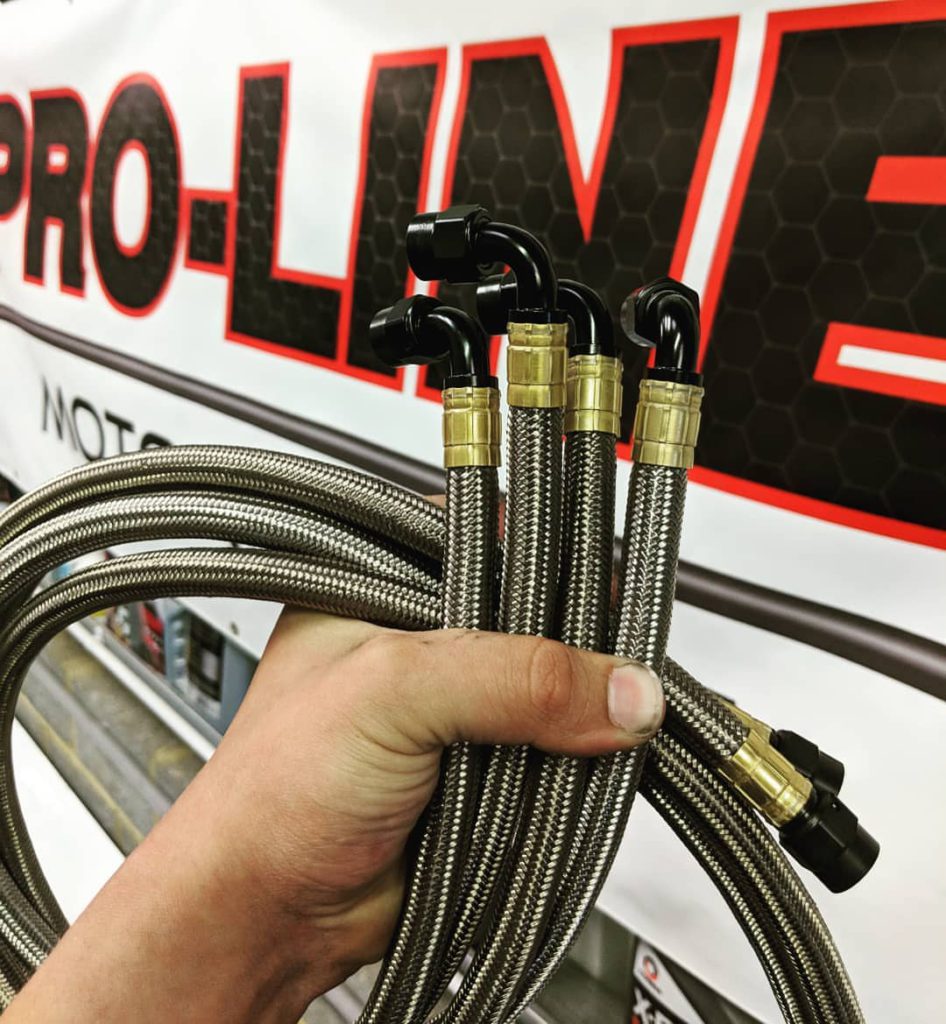
Naturally, we came up with our own solution! Thanks to our plumbing specialists Pro-Line Motorsport, we had a set of custom lines made up with swaged ProGold fittings. Instead of 45 degree fittings near the control arm, we tucked the hoses out of the way using 90 degrees, and also included an o-ring fitting for the aforementioned fuel return barb. The success of this setup has now been relayed to Radium who will be updating their kits to use the same format.
With these issues sorted, the plumbing could be completed once again and tested, with it being perfect from the off. The rest of the interior and underside went back together and the engine was fired up to test flow, again working perfectly.
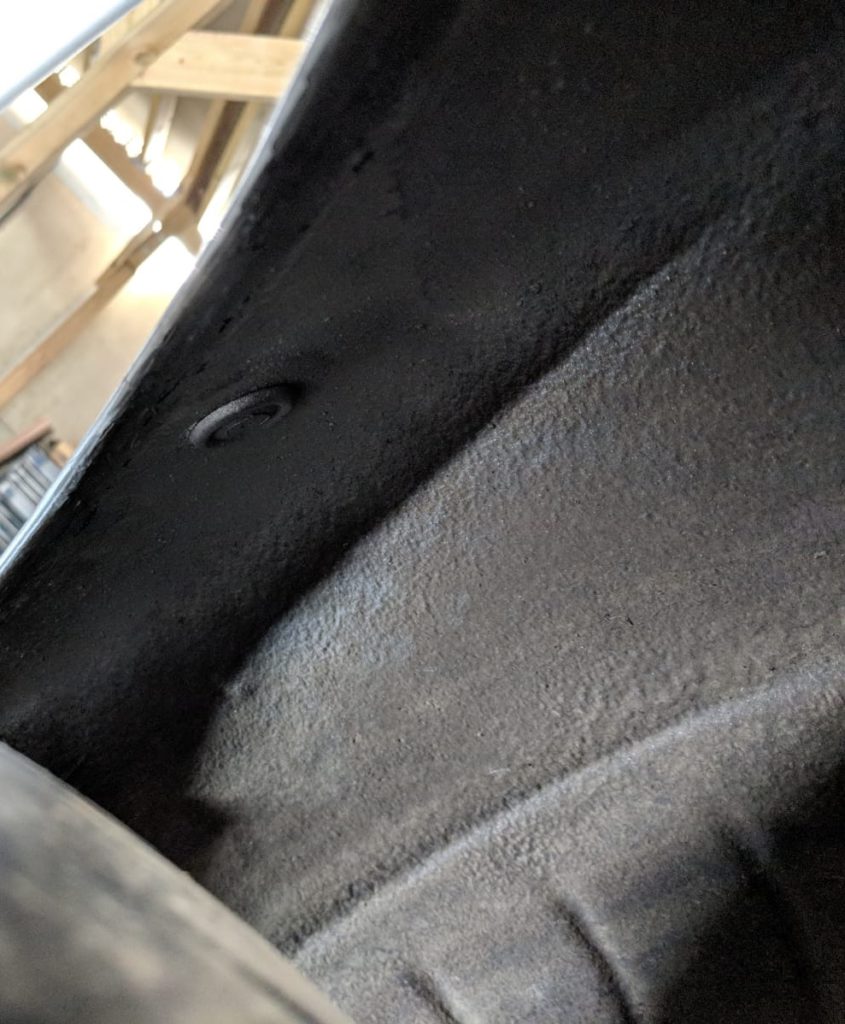
The final task on the to-do list was to get some extra rear clearance at the rear for the new generation, slightly wider BTCC slicks that Billy wishes to run. Knowing that this car is going to paint soon, and with Billy’s full blessing, we cut out the inner skins of the rear arches, re-bonded the skins together higher up and then folded over the now-excess outer. The result is a strong but very thin arch that looks factory from the outside but allows for approx 12mm extra clearance.
With this complete and paint dry, the car was snowfoamed to rid it of any workshop dust, and was ready to collect. However it worked out perfectly to drop the car back to Billy near Cambridge and so we were lucky enough to go for a nice long run in it. What a machine Billy has created – this M3 is the perfect combination of all-out track car while retaining useability on the road. It’s not too noisy, it’s not too stiff. It’s not hard to drive slowly – it really has to be the ultimate Clubsport M3 out there. Looking forward to seeing it on track with its new fuel system, and hopefully jumping in the passenger seat sometime.


